Filterbag Installation Guide
General
Shake and vacuum your bags regularly. Shake them every 4-8 hours of use. Vacuum them at least once every 40 hours of use.
When to change bags
Shake and vacuum your bags thoroughly. First thing in the morning, put a white handkerchief on the exhaust of your dust collector. If it doesn’t remain pristine white by the end of the day, then it is time to change your bags.
A note about dust collector bags and polishing dust. Every pound of polishing dust contains about an ounce of gold. Even if you don’t want to refine this material yourself, you should at least reduce it to metal. Shor has full instructions on how to do this and we can walk you through the process as well. This is a no-charge service and we are happy to help you.
Installation
Step 1
Hang as many bags as possible without the use of the installation tool. You will be left with between 1-3 bags uninstalled.
Step 2
The bag insertion tool can be used to spread the installed bags, making room to insert additional bags, one at a time.
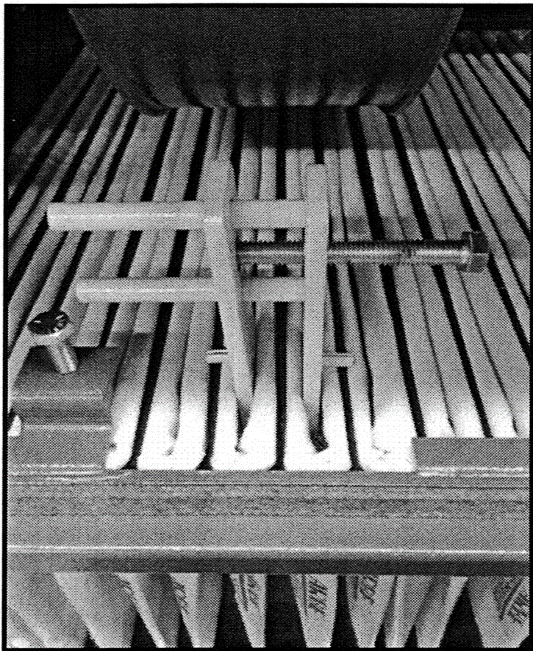
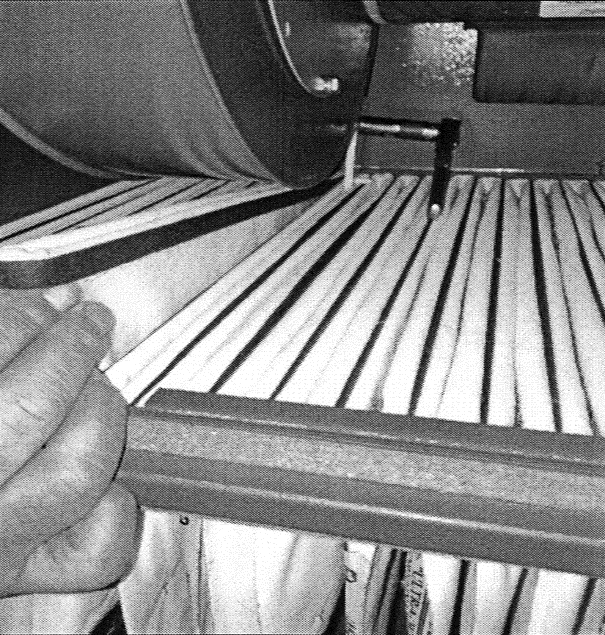
Insert the tool, as shown in the image to the right. You can insert it into any two adjacent bags. Choose a spot that is convenient for you.
Step 3
Support the insertion tool by hand while tightening the bolt as shown in the image to the right. This will compress the bags, opening the required space for insertion of an additional bag.
Step 4
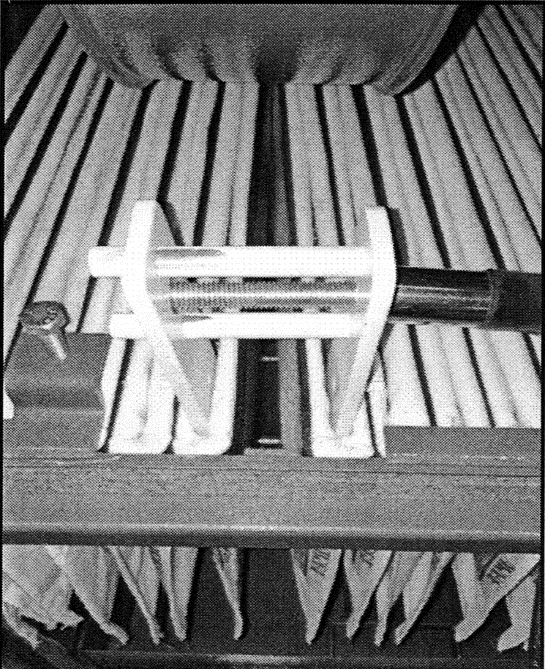
Continue tightening the bolt until you open the space sufficiently to accept the insertion of an additional bag.
Step 5
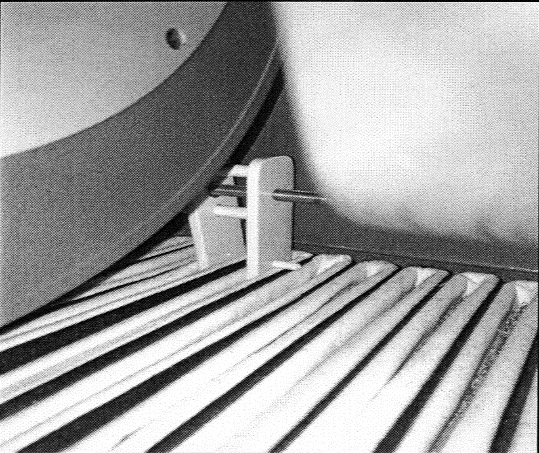
Remove the bag insertion tool and insert it in the same bags, but at the back of the dust collector (as shown in the photo to the right).
Step 6
Once again tighten the bolt to open the space between the bags.
Step 7
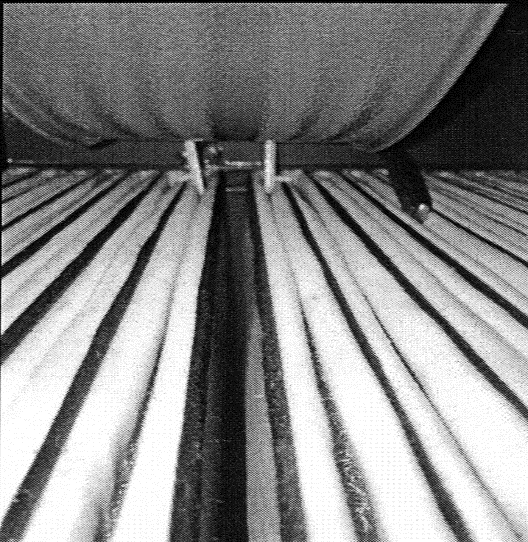
With the insertion tool still in place in the back of the dust collector, insert a filterbag. Insert the bag first, then drop down the front of the bag.
Step 8
Repeat for these steps for any additional bags that require insertion.
It is essential that all the bags are inserted. For most dust collectors, that means 30 bags.
© 2026 Shor International Corporation & The I. Shor Company. All rights reserved.